 St. Petersburg Roofing
 New-Construction Windows for Disston Heights Homes
Disston Heights is one of St. Petersburg's older established neighborhoods, and that means most of the housing stock here was never built with today's wind and impact codes in mind. When a homeowner in this part of Pinellas County is adding a room, closing in a porch, bumping out a kitchen, or tearing a wall down to the studs during a remodel, the window question isn't "replacement vs. new" in the way it is on a straightforward swap-out job. It's a different install method entirely: new-construction windows, set into a framed rough opening with a nailing fin, built in from the studs out. Get that install wrong and you're not just risking a drafty window — you're risking a water intrusion path straight into the wall cavity of a home that already deals with plenty of wind-driven rain and humidity.
This page covers what new-construction window installation actually involves, what it should look like done correctly in a Gulf Coast climate, and why the installation method matters as much as the window brand itself.
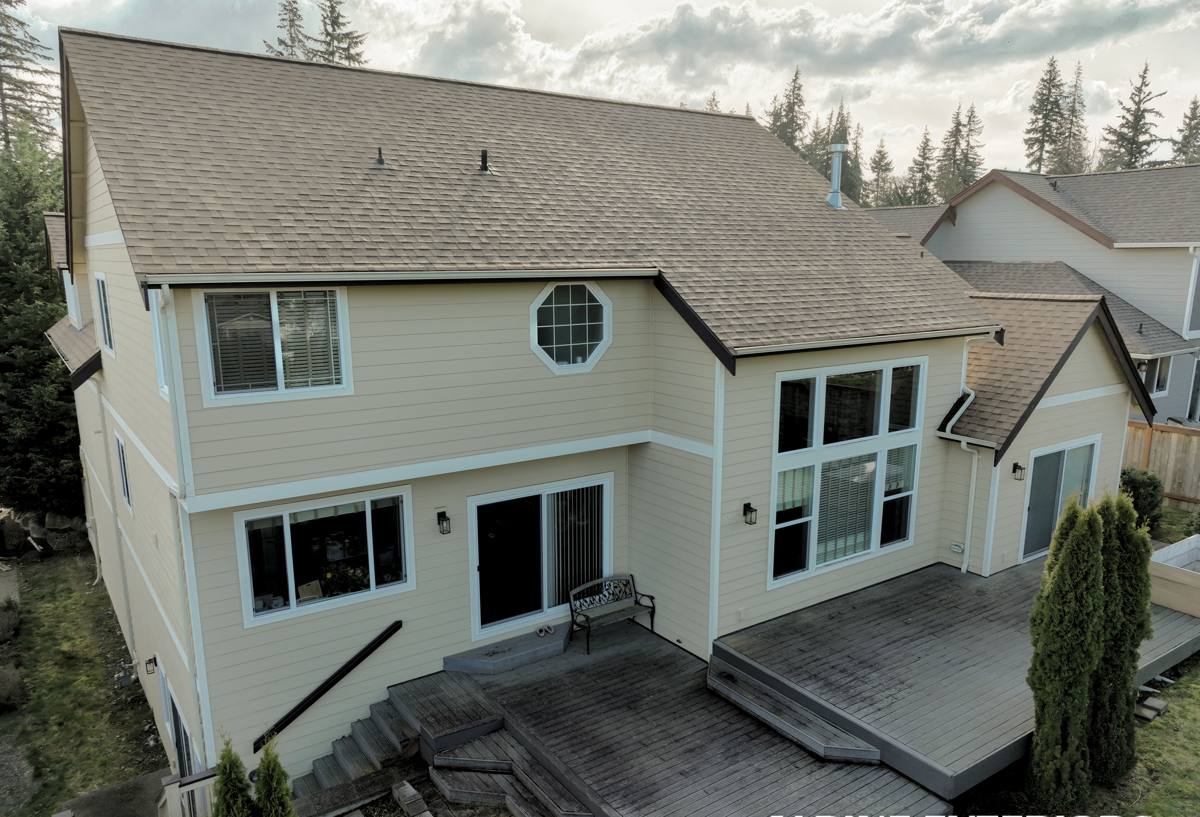
New-Construction vs. Replacement Windows: Why the Distinction Matters Here
A lot of homeowners use "new windows" to mean any window project, but the trade draws a hard line between two install types:
- Replacement (retrofit/insert) windows — the new unit is sized to slide into the existing frame that's already anchored in the wall. The old frame stays; only the sash and frame components change out. This is the right call when the existing opening is sound and you're not changing size or structure.
- New-construction windows — the window has a nailing fin around the perimeter and gets fastened directly to the framing, then integrated into the wall's water-resistive barrier (housewrap or building paper) and flashed in layers, shingle-style, before stucco, siding, or trim goes back on.
New-construction is the correct — often the only — method for additions, enlarged or relocated openings, full-frame tear-outs during a remodel, and any job where the wall is open to the studs anyway. It's also the method that gives the best long-term weather seal, because the flashing ties into the wall system itself rather than depending on a bead of sealant around an old frame.
Why Disston Heights' Housing Stock Makes This Relevant
Much of Disston Heights was built in the mid-20th century, with a mix of concrete block and wood-frame construction typical of that era of St. Petersburg growth. Additions, enclosed lanais, and remodeled rooms are common in a neighborhood this age, and that's exactly where new-construction window work comes up — far more often than in a newer subdivision where every window is still the original retrofit-friendly opening.
What Pinellas County Climate Demands From a New-Construction Window Install
St. Petersburg sits on a peninsula exposed to Tampa Bay and the Gulf, and Disston Heights gets the same conditions as the rest of the county:
- Hurricane-force and tropical-storm winds that load a window opening far harder than the interior of the wall around it.
- Wind-driven rain that gets pushed sideways and upward under normal shingle-lap flashing logic if the details aren't built correctly.
- Intense, near-constant UV exposure that degrades cheap vinyl, weak sealants, and low-grade glazing coatings faster than in northern climates.
- Salt-laden air off the bay and Gulf that accelerates corrosion on fasteners, hardware, and lesser-grade aluminum components.
A new-construction window opening is a fresh wall penetration. Every layer around it — flashing tape, housewrap laps, sill pan, sealant joints — either holds up to that combination for decades or becomes the reason a wall gets soft inside three or four years. This is why the installation sequence matters as much as the window unit itself.
What a Correct New-Construction Install Actually Involves
1. Rough Opening and Structural Check
The opening gets framed (or verified, if the wall is already open) to the exact rough opening size the window manufacturer specifies, with header and jack studs sized for the span and load — this matters more on wider openings common in additions and great-room remodels.
2. Sill Pan First
Before the window ever goes in, the sill gets a sloped, sealed pan flashing so any water that does get past the glazing or frame in a wind-driven event drains back outward instead of pooling against the framing.
3. Window Set and Fastened
The unit is set plumb, level, and square, shimmed correctly so the frame isn't racked (a racked frame is one of the most common causes of a window that leaks or won't operate smoothly within a year), then fastened through the nailing fin per the manufacturer's and the window's product approval schedule — fastener spacing on coastal wind-rated units is not a "close enough" detail.
4. Flashing Integration, Shingle-Style
Flashing tape goes over the fin at the sides first, then across the top, integrating with the housewrap so water is always directed down and out, never trapped behind a layer. This sequencing is the actual heart of a new-construction install and it's where rushed jobs fail.
5. Insulation and Air Sealing at the Perimeter
The gap between the frame and the rough opening gets backer rod and low-expansion sealant or backer plus foam — enough to stop air and moisture movement without bowing the frame.
6. Exterior Finish Tie-In
Stucco, siding, or trim gets rebuilt around the opening so the finish sheds water onto the flashing system, not into a seam.
Wind Load, Impact Rating, and Code Compliance
Pinellas County and the City of St. Petersburg enforce the Florida Building Code, which sets wind load and wind-borne debris protection requirements based on location and exposure. For a new-construction window opening, that generally means the unit itself needs a product approval rated for the site's design pressure, plus either impact-rated glazing or an approved shutter/protection system for wind-borne debris regions. A window that isn't properly rated and labeled for its wind zone won't pass inspection, and — more importantly — it's the wrong window for what a Gulf Coast storm can do to that wall.
New-construction openings also need to satisfy:
- Egress requirements if the opening serves a bedroom — minimum clear opening width, height, and sill height above the floor.
- Energy code — U-factor and solar heat gain coefficient (SHGC) requirements for Florida's climate zone, which affects glass package selection, not just frame material.
- Permitting and inspection — new-construction window work on an addition or structural remodel requires a permit through the local building department, with inspections at rough-in (flashing visible, before finish goes back on) and final.
Choosing the Right Frame and Glazing for This Climate
| Factor | What to Look For in Coastal Pinellas |
|---|---|
| Frame material | Reinforced vinyl or aluminum rated for the required design pressure; avoid light-duty residential-grade frames not rated for coastal wind zones |
| Glazing | Impact-rated laminated glass where wind-borne debris protection is required, or an approved shutter system paired with standard glazing |
| Hardware/fasteners | Corrosion-resistant hardware and fasteners suited to salt-air exposure — standard steel fasteners corrode faster this close to the bay and Gulf |
| Low-E coating | Selected to control solar heat gain given St. Petersburg's near year-round sun, not just a generic Low-E package |
| Sealant/flashing components | UV-stable tapes and sealants — cheaper products chalk and crack under this region's UV load well before their rated lifespan |
Our Process for Disston Heights Projects
- On-site assessment — we look at the existing wall assembly, framing condition, and what the opening needs structurally before quoting anything.
- Product and glazing selection — matched to the wind zone, exposure, and the look of the home, whether that's a mid-century block home or a remodeled addition.
- Permitting — we handle the permit application and schedule inspections with the appropriate local building department.
- Framing and sill pan prep — opening framed or verified, sill pan installed before the window ever goes in.
- Window set and flashing — set square and plumb, fastened per the product approval, flashed in the correct shingle-lap sequence.
- Finish tie-in — stucco, siding, or trim restored around the opening.
- Final walkthrough — operation, seals, and finish checked with you before we call it done.
Pre-Install Checklist We Walk Through With Every Homeowner
- Confirm whether the project requires impact glazing, shutters, or both for this specific opening
- Verify rough opening size against the selected window's actual manufacturer specifications
- Check header sizing against the span, especially on wider openings in additions
- Confirm egress requirements if the opening serves a bedroom
- Review sill pan and flashing sequence before any siding or stucco goes back on
- Confirm permit and inspection scheduling with the local building department
Why Hiring a Crew That Already Works Disston Heights Matters
New-construction window installation only works if every layer — framing, sill pan, fastening, flashing, and finish — happens in the right order, and a crew that's used to Disston Heights' mix of block and frame construction already knows how those walls are typically built, where the common trouble spots are, and how the local building department expects flashing details to be documented at inspection. That familiarity shows up in fewer surprises mid-project and fewer callbacks once the humidity and storm season arrive. It also means we're not guessing at wind zone requirements or product approvals for this part of Pinellas County — we're applying what we already do here regularly.
A rushed or out-of-sequence new-construction install doesn't usually fail on day one. It fails quietly, a season or two later, when wind-driven rain finds the one seam that wasn't lapped correctly. That's the gap between a window that looks fine at handoff and one that actually holds up through a Gulf Coast hurricane season.
Get a Free, No-Pressure Estimate
If you're planning an addition, a remodel that opens up a wall, or a new opening anywhere on your Disston Heights home, we're happy to take a look and walk you through what the job actually needs — no pressure, no guesswork. Use the form below to request a free estimate.